These tools have their different roles which will be explain in this tutorial.
Where will you find them?
They share a single cell in Tool Bar. You will see last used tool and to see all three just click and hold on little triangle on the icon. Shortcut key for all three is “O”.
Start with Dodge tool & Burn tool.
It is use to lightning the color of particular area of an image. It just works like a brush tool, it affects when you click and drag it over a particular area. Here is a basic example, I used dodge tool and drag on this color, you can see after applying dodge that area gets lighter in color.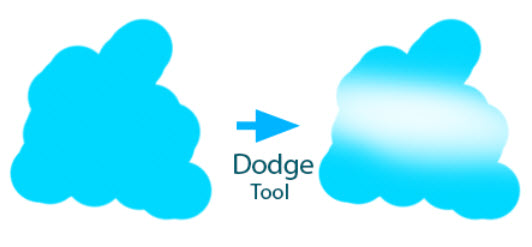
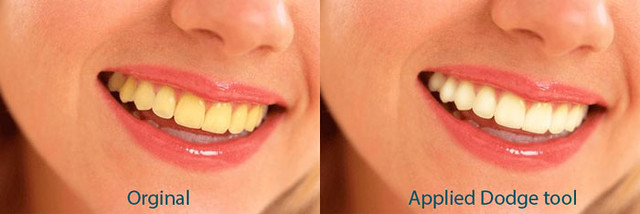
Here is one more example by which you can understand how to use dodge tool.
Now I will explain burn tool, by the name you can understand it will dark the color shade. Here in this image I used burn tool and you can see a darker shade.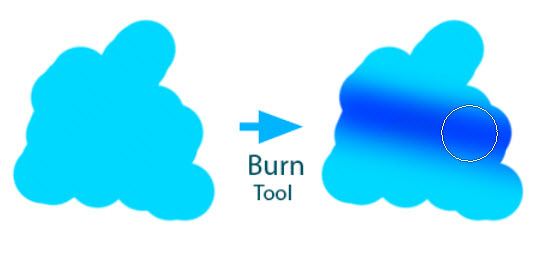
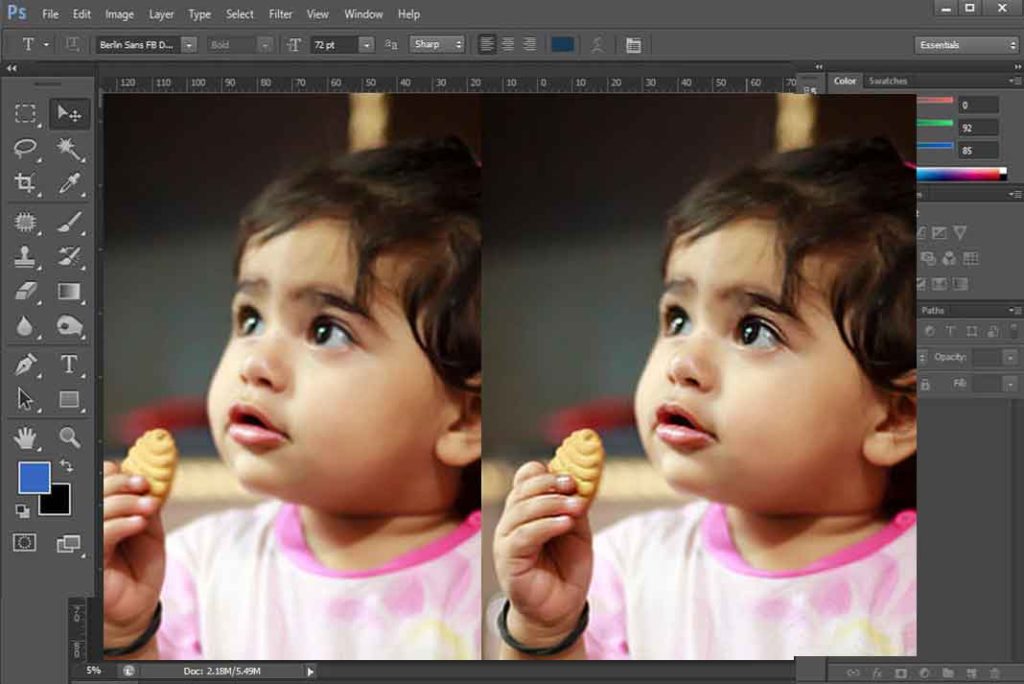
It is just a tool which can be used in many ways, to give shade or to create depth. Here I am giving one more example to explain its working. In this image you can see I used burn too to achieve darker shade of hair and used it around his eye to give some depth.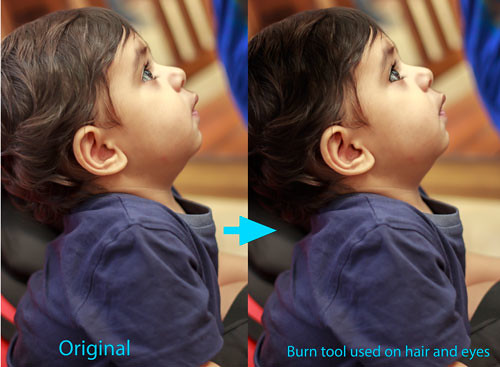
So after these example concept and working of dodge and burn tool is clear. Options of both tools are similar, so let us understand their options.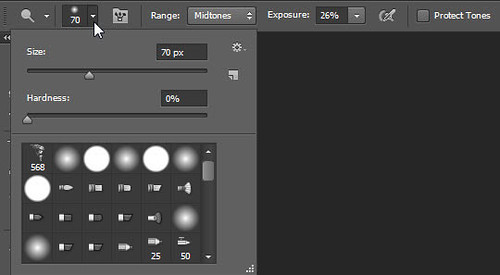
Same as other brush tools these tools also have a section where you can adjust brush size, hardness and can choose desired brush tip from presets. (To learn about advance settings of brush go to Brush Panel) After that we have Range option. 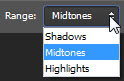 Here you can see three types of range, shadows, midtones and highlights. When you select shadows, then these tools will work on darker areas. With midtones it will affect average darkness area. In last, with highlights it will affect lighter area of image.
Next option is Exposure, it defines the intensity of tool, click on arrow and you will see a slider to adjust it.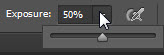 In last we have Protect tones, by default it is checked. It is to protect the colors and to protect image, as sometime burn and dodge tool give some dramatic effect on an image.But you can off it when it don’t let you what you want to do with your image.
Sponge Tool
By this you can adjust saturation (to learn about saturation go to Color tutorial) on different areas of your image.Its working is same as any other brush tool. There are two modes, Saturate and Desaturate. Saturate increase the intensity of color and Desaturate decrease intensity of color.
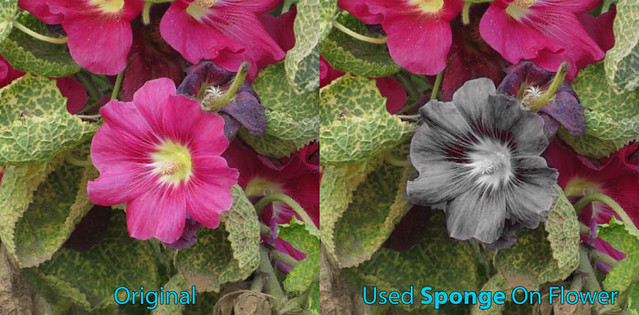
Let us see an example to understand it, Here I use sponge with Desaturate mode, due to that intensity of color get decrease and it tends to blank and white area.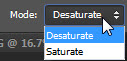
Now another example with saturate mode:
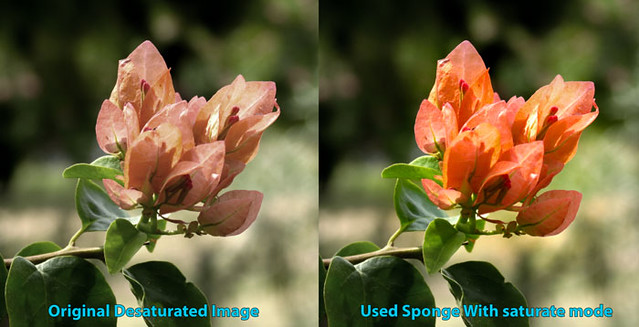
Here I used sponge to increase the intensity of colors, and it is possible with saturate mode.
Hopefully you get help with this tutorial.