Previously in this chapter we covered filter gallery and Liquify, now in this tutorial we will learn about advance filters. We have many predefined filters likes range of blur effects, noise, pixelate and many more. You can also download and install filter plugins from 3rd party sites.
In this tutorial we will see working of some filters by which you can get an idea that how to use filters.
So before going to filters one important thing is Smart Filter.
It has been already explained in Smart Object Tutorial
It gives you control to re-edit or change your filters.
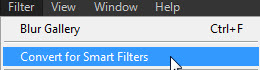
Just Select your layer and convert it to smart filter from Filter Menu. To learn about layers go to Layer Chapter.
After this let see a filter from given list.
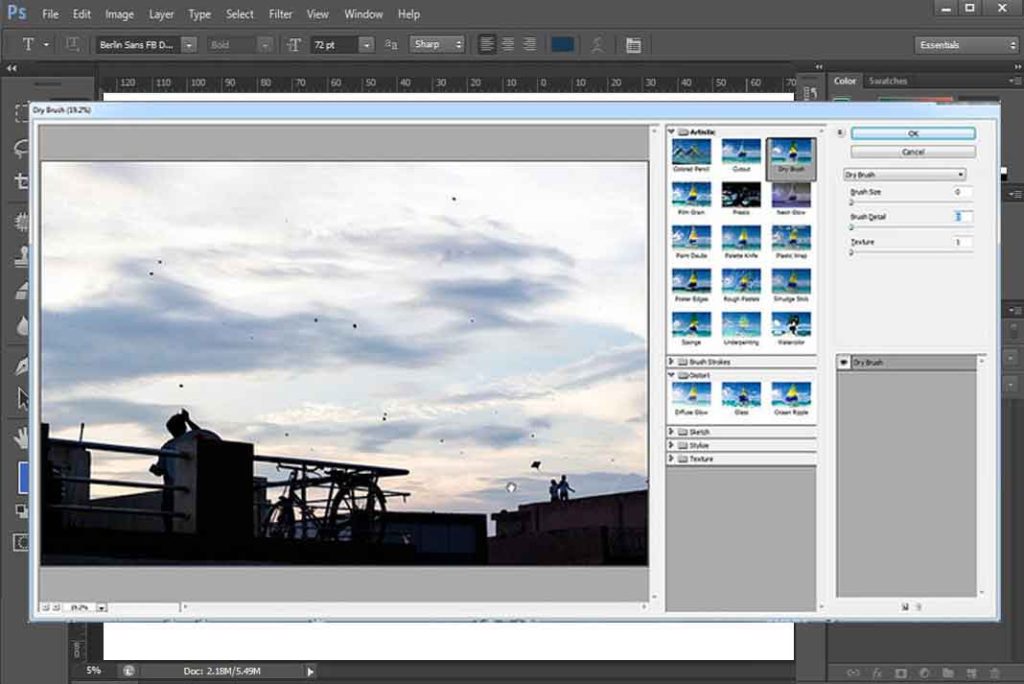
Here I am using one of Blur Filters, Box Blur.
For this example I am using photo of this catty:
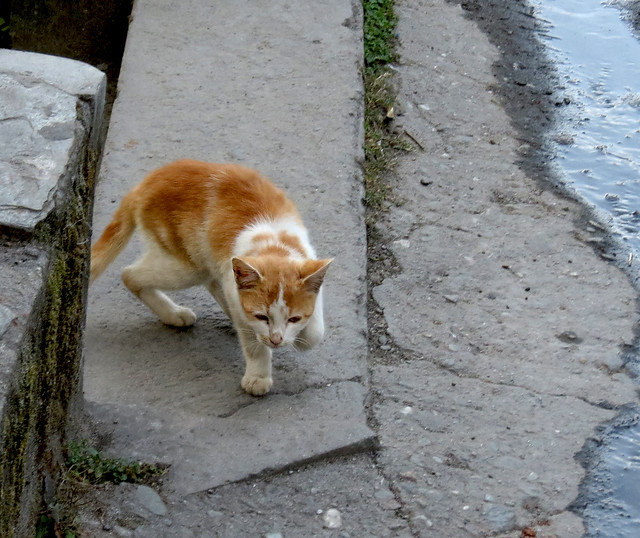
So it is a nice sharp pic but I want that catty should be in focus and other area should be blurred. You can say I am giving an illusion of a DSLR cam photo with a good depth of field 😉
Now for that I am applying box blur to this layer, and I already make it smart filter.

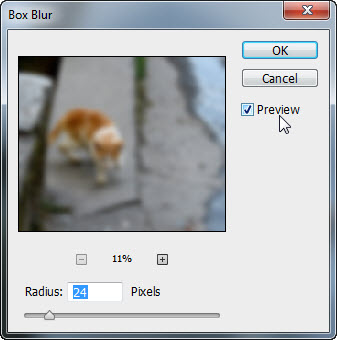
Here you can see this window of box blur, more radius results in denser blur.
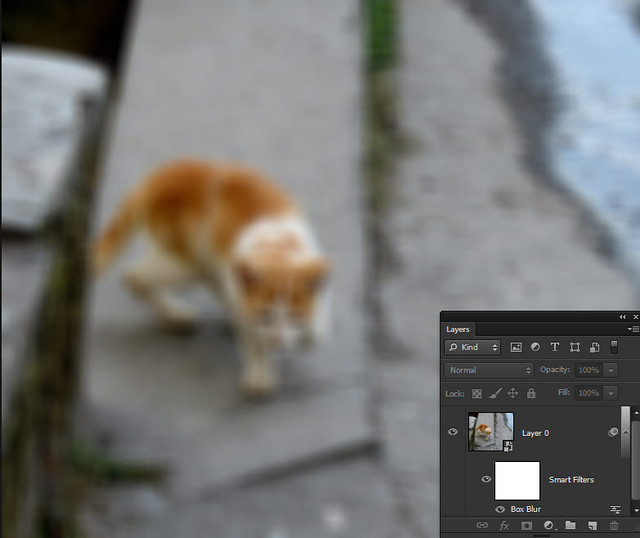
So I did it, everything gets blurred.
Wait! Our real task is not this, we have to make catty in focus and give a illusion of depth of field in this photo. Now Smart Filter will come in real action. As my layer is previously converted into smart filter, therefore I have a Filter mask thumbnail with it.
(Learn masking from Masking Chapter)
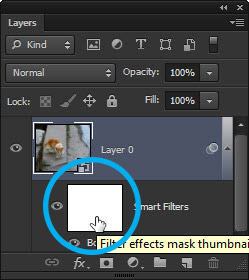
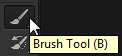
Now select this thumbnail > select brush from tool bar
(Learn about brush from Painting Chapter)
Starting moving brush on canvas (working area) with Black Color where you don’t want effect of that filter.
Now, here I will move brush on catty and on horizontal axis of cat to give it some real feel of focus.

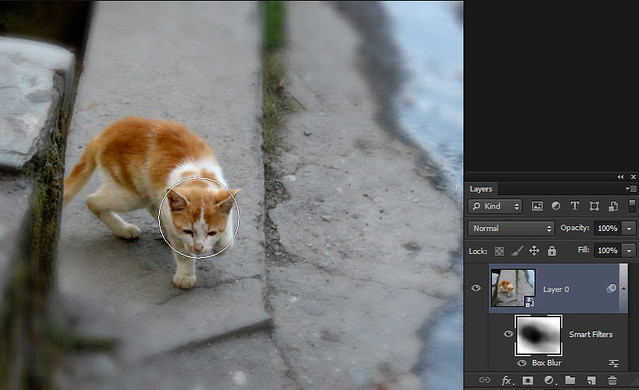
Here I create an illusion of depth of field and focus on my subject that is catty.
Tip -Use opacity of brush to give real feel to your illusion. Learn about this from Masking Chapter.
This is how we use filters, there is some specific task for every filter, and you can take it to next level with your creativity.
I hope you get idea of working with filters, now I will quickly give some examples of more filters.
Distort Filters
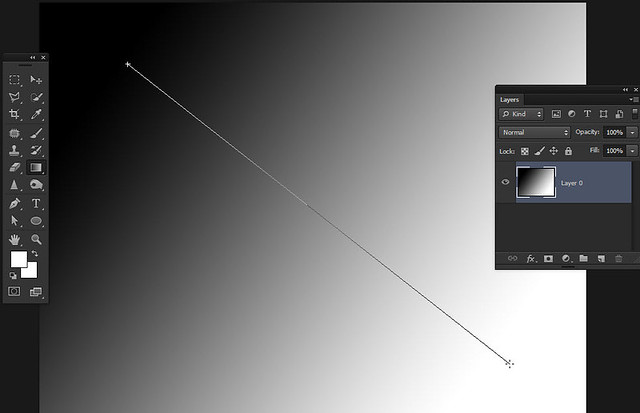
I will make a background with some of the filters of distort to explain the use of distort filters.
Fill gradient diagonally on layer.
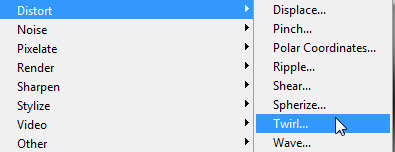
Select Twirl effect from distort section.
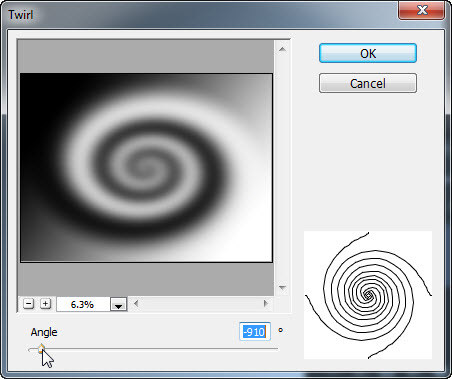
A window will open, in which you can see preview of twirl effect, it actually make a cyclonic effect.
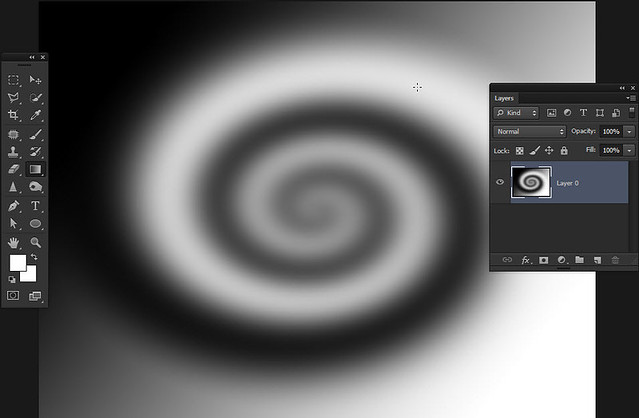
Now we have twirled background but I want something like randomize effect.
So for that I will choose wave effect from distort only.
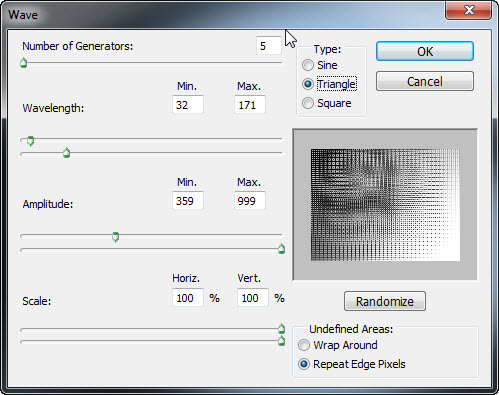
Here we have Wave options window, I will play will these options till I get my desired design.
So after changing all I get this background.
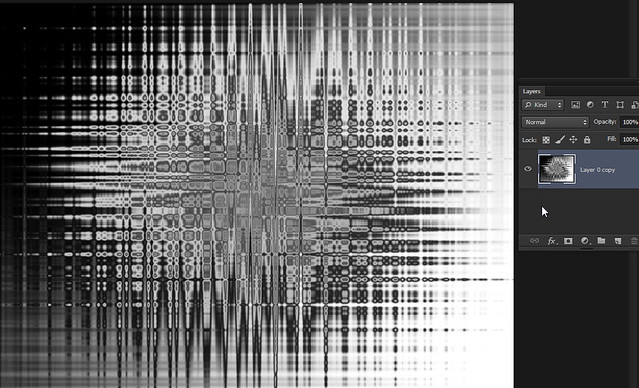
It’s just a quick example, you can do lot of things with these filters, all depends on your creativity. You can surely ask me question or suggest something in the comment section given below, Each and every Comment will be Appreciated and Answered!