In today’s fast going life we want everything just with one simple click. So this filter gallery is just another addition to your ease. From here you can select any filter or effect for your photo, and then if you want to play with effect, then Photoshop gives you all controls for that.
Unlike other photo editing software, in Photoshop you can also explore your own creativity with predefined effects by playing with their controls.
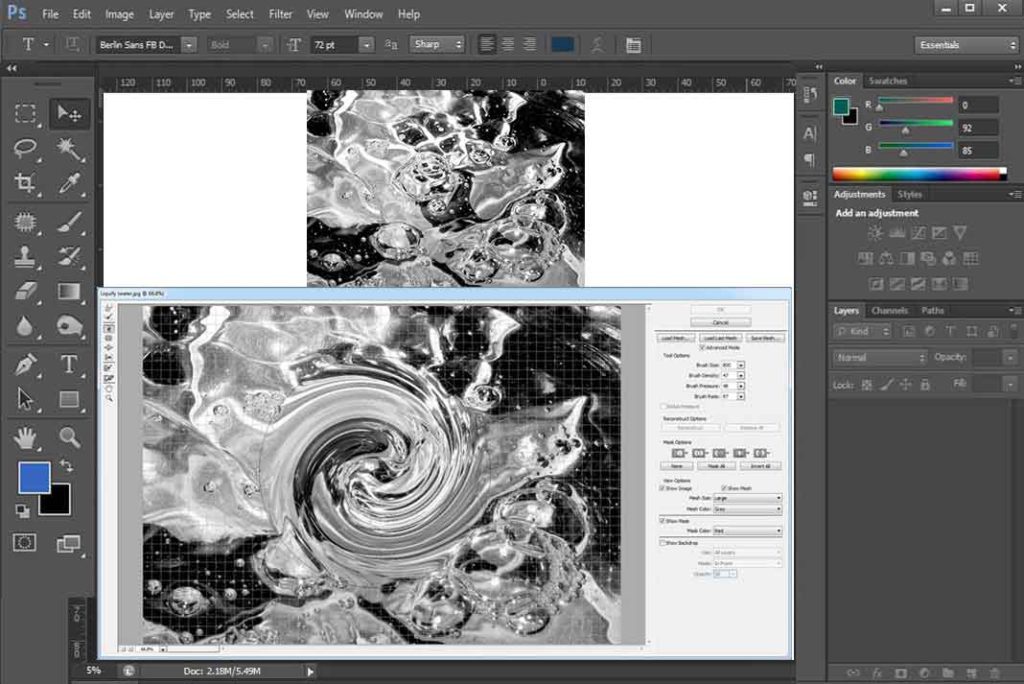
Where it locates??
Just select the layer on which you want to apply filter, now from Filter Menu > select Filter Gallery. 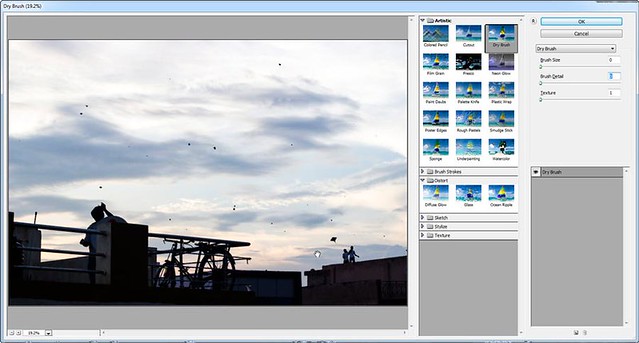
Now you will see a window with a preview window, some filters and effects and on right side you can see controls of selected filter.
How it works??
Just select any filter, and you will see its effect on preview window.
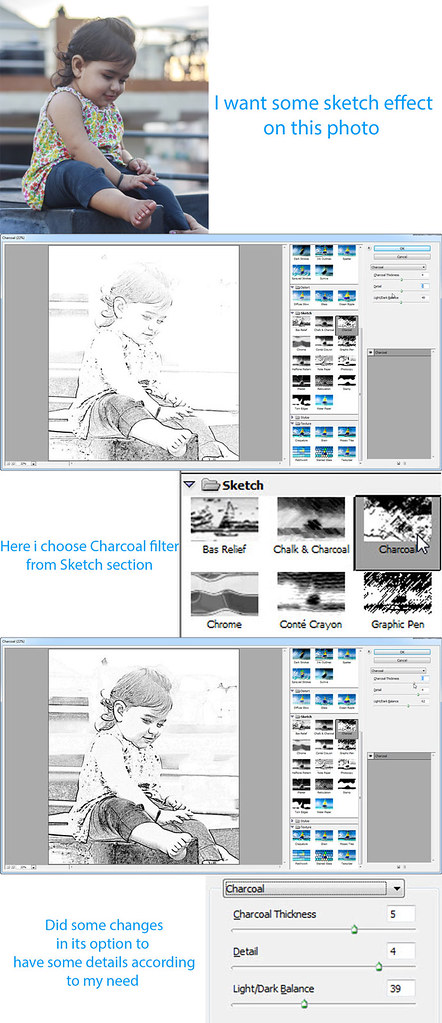
Like here we have a photo, on which I will apply charcoal filter to give it a sketch effect.
So like this only you can do something new with your photos, can give effects, and can control them according to your need. You can also use them smartly by converting layer to smart filter, you can learn it in Smart Object tutorial.
There are some section of effects like Artistic, Brush stroke, Distort, Sketch, Stylize and Texture. Each section have some range of effects, here I will show one effect from each section by which you will understand its working.
We use this image to explain all effects, so it will be our source image in all examples.

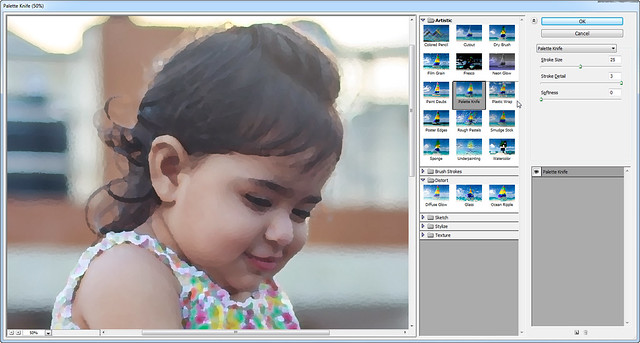
Artistic – In this section you will get effects like color pencil, water color, palette knife etc. All effects in this section based on painting as it creates a effect of specific painting technique on your photo. Like here you can see effect of palette painting on your photo with just a click.
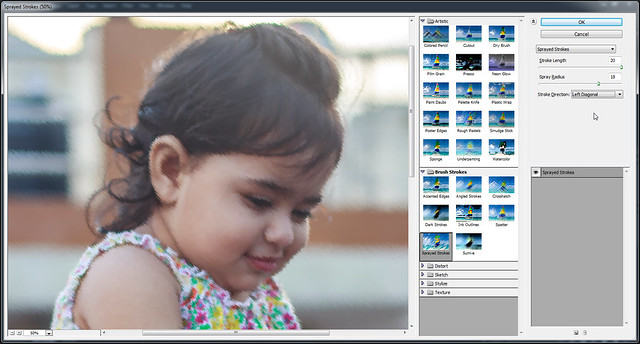
Brush Strokes – In this section you will get some effects which will turn you photos like they are created with brush strokes.
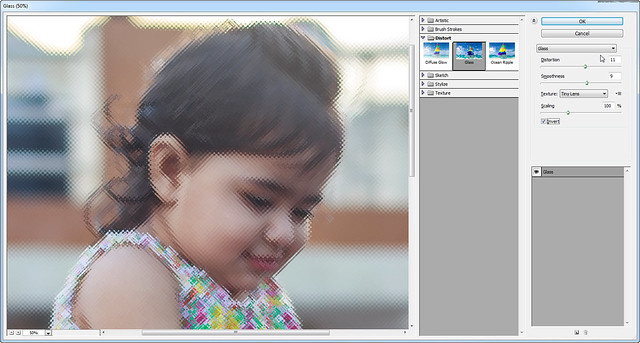
Distort – In this section you will get some effects which will distort your image in different ways, here I used glass effect and now my image turns into glassy effect.
Sketch – In this section you will get a range of sketch effects, I want to clear one thing that you can get similar effects in other editing software, but as Photoshop is a high end editing software that’s why you got all control on these effects and moreover can use them smartly with Smart Filters.

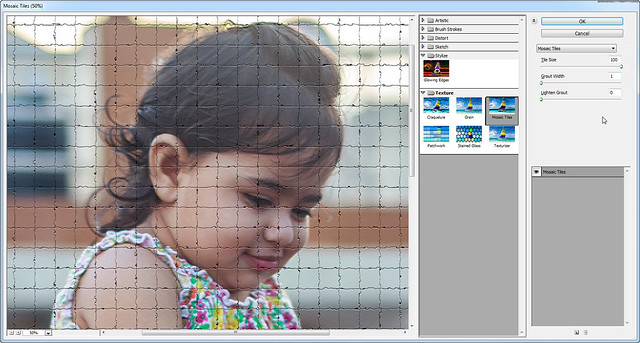
Texture – Same as above section it also contain some effects, here I used mosaic tile effect to give my photo a tile feel as it is created with tiles.
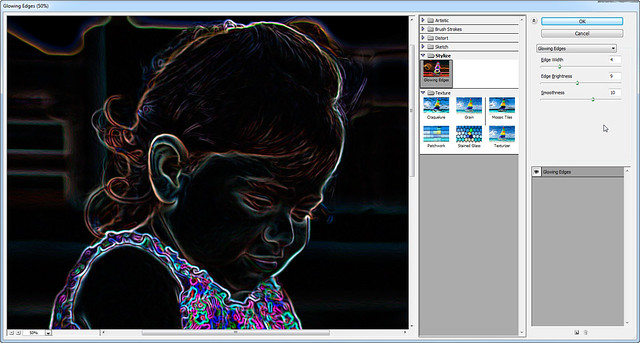
Stylize – It only have one effect glowing edges. On first sight it just looks like it converting your image into glowing neon edges, but you can use it in my ways like blending it with original image. Go to Blending Layer tutorial to learn about blend options.
Here we complete this tutorial, give effects to your photos and make them more special.