It is one of the important filter or you can say an important feature of Photoshop. It is like virtually working according to the perspective of photo. For example you have many online applications in which your photo is inserted automatically in a frame in a correct perspective.
Now if you get in those online applications, then why you need to learn it in Photoshop.
So in those applications you are restricted to some sample images in which you can place your image. But when you learn this in Photoshop each and every control is in your hands, you can use it for personal and many times in professional area also, so let us start with its working.
Working
We will learn it with an example :
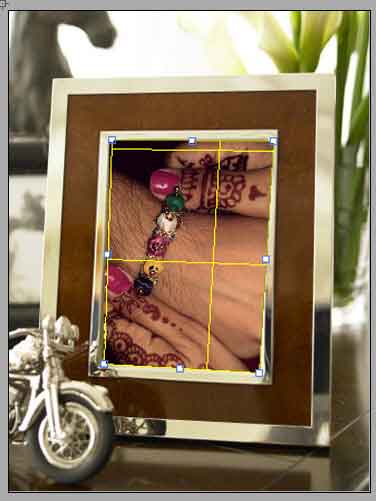
I have this Frame and I wanna insert some another photo in this.
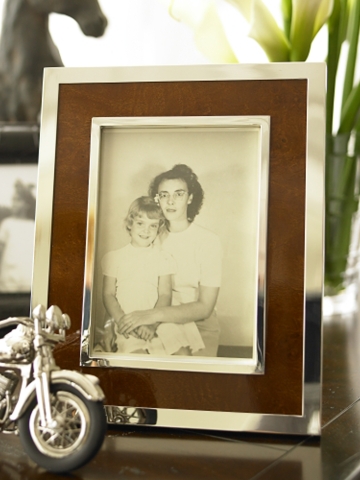
Firstly I am creating a new layer above this frame layer. Reason for this is that my new photo which I want to insert in this frame will have a separate layer which is good for further edits.
To learn about layers go to Layer Chapter.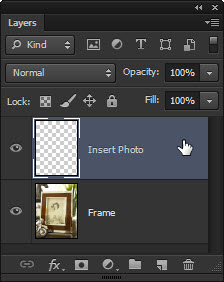
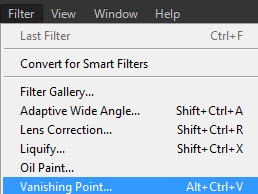
Now select new layer and go to filter menu, Select Vanishing Point.
Shortcut for Vanishing Point is Ctrl+ Alt + V.
You will see a new window of vanishing point with some tools and a preview area.
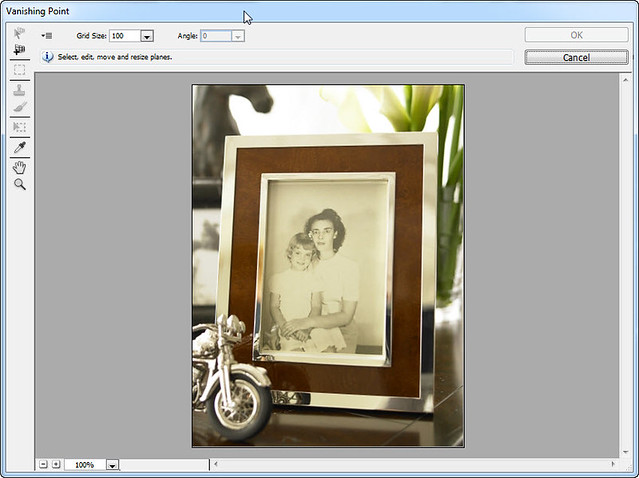
Now you have to make a plane to specify your perspective area in which you want to insert the photo.
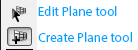
Use Create plane tool to make plane and after that if you want to edit plane choose Edit Plane Tool.
Plane only consists of four Corners.
If your plane lines are Blue in color then it means it has good perspective.
Yellow color means nearly correct perspective.
If it shows red line it means perspective is wrong.
Now let us make a plane around our frame with Create Plane. Just click on corners of your perspective plane will be created automatically.
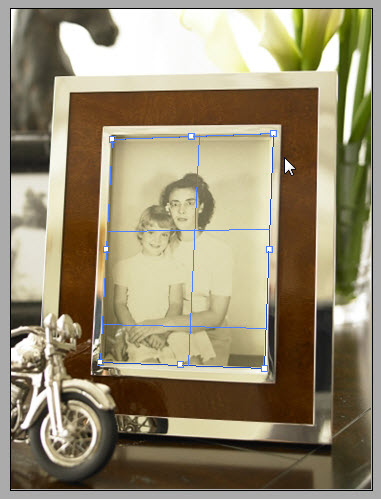
This blue color grid plane is area in which we will insert our photo.
Now press ok as we defined the area now we have to copy our photo which has to be inserted in this frame.


Now I open this photo in photoshop and make selection with Marquee tool. To learn about selection tool go to Selection tools Tutorial.
Copy image by pressing Ctrl+C. You can also do this copy work before working on Vanishing Point. Again I will go to my Frame document and from filter menu open Vanishing Pint window.
Now previously I had been defined my area in which I have to insert my photo. So now I just want to press Ctrl + V to paste image.

Now you can see your select area of photo in preview of Vanishing Pint window. now to insert in that defined area of frame, select Transform Tool now Scale it to your desired size and Move it in defined area, it will be automatically changes according to the defined area perspective.
Now finally press ok and you have your desired image, you can do many things with this tool. You can change text or images on according to the perspective of subject.

At the end everything depends on your creativity our duty is to make tools familiar for you.
Hopefully this tutorial helps you. Ask your Questions related to topic below in comments bar.
Share Tool Tutorial with your friends through social and other medium, would be appreciated!