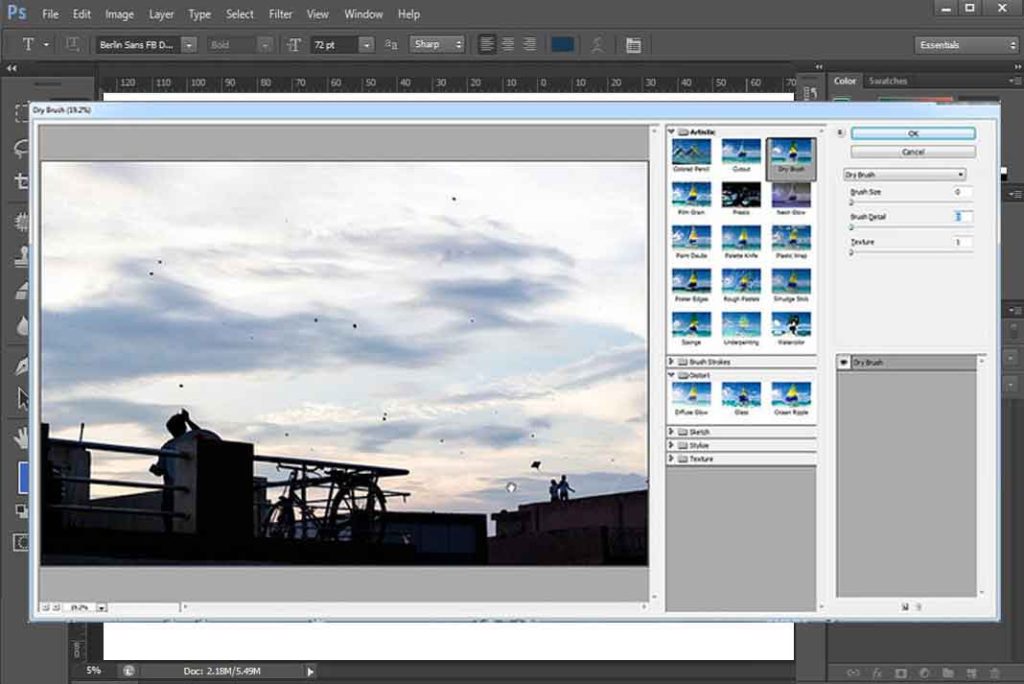
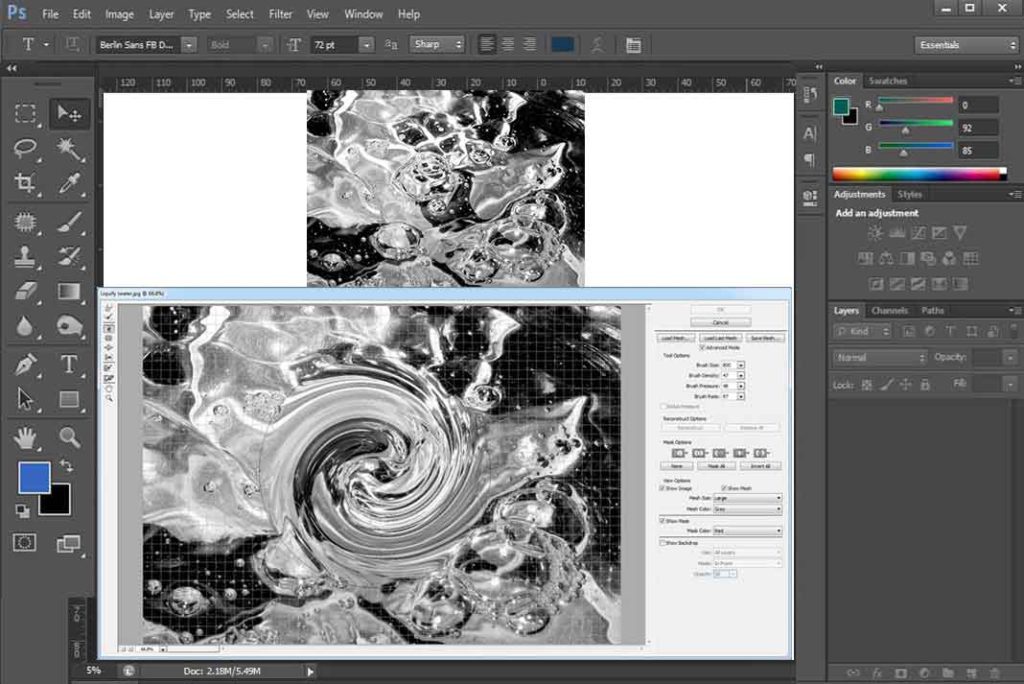
You will find this in Filter menu, as we mentioned in filter that it’s all about creativity in this chapter. Its feature is same as its name, it will let you work on your images as they are liquefied and you can easily transform them in the way you want.
Working
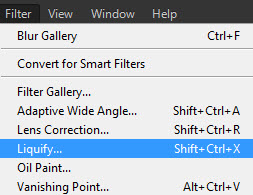
Select Image layer > Go to Filter menu > Click on Liquify
Now you can see a window open with your selected image.
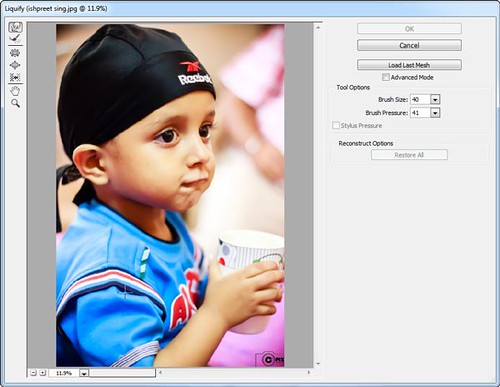
On top left corner you can see first tool of liquify, That is Forward Wrap Tool. In right side you can see tool options to have some better control on working.

What it does?
While moving its brush you will feel like you are working on wet canvas.
You can do many creative things with it.
Let see how it works
Just move your brush and pixels will follow you.

Left Original, Right Edited. We have some options in tool options section :
Brush size – Defines size of your brush.
Brush pressure – Defines strength of brush.
Restore all – By this you can restore image and remove all edits by liquify with just one click.
Reconstruct Tool
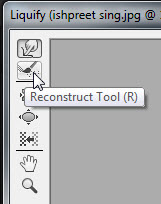
It’s like an undo brush. Sometime you don’t want to go back totally, or restore all changes made by you. At that time just move this brush where you want to undo the changes made by liquify tools.
Plucker Tool
It is for squeezing the specific part. You can do many creative works with this tool. Just click and hold this tool where you want to modify shape, you can adjust brush size from tool options.

Bloat Tool
By its name you can understand its use, it will use to swell or inflate an area. Same working as above, just click and hold on that area where you want the effect of bloat tool.

Just adjust size of brush click and hold at specific area.
Push Left Tool
It is use to change baseline, when you move this tool from Right to left Baseline of that area change its position downwards and get upward while you move it left to right.
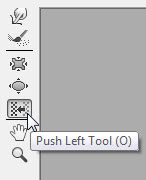
You can see a mesh while you zoom in liquify window or make its size large in advance mode and when you make your edits you can see what exactly you are changing.
Now with that I will explain how this tool works :
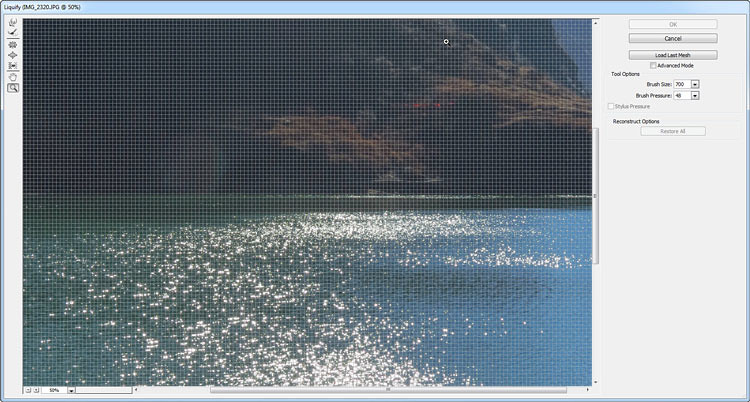
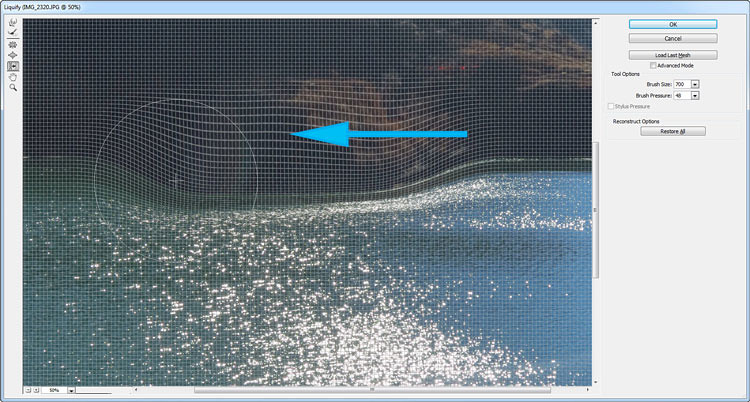
In top image you can see straight checker mesh but in second image when I use Push left Tool it shift toward downwards. So you can do many creative things by this tool and its all depends on you.
Basic Liquify tutorial comes to an end, in next we will learn about some Advance options of Liquify.
Hopefully this tutorial helps you. Ask your Questions related to topic below in comments bar.
Share Tool Tutorial with your friends through social and other medium, would be appreciated!
