Are you ready to become smart?
Wait, are you thinking that I will give some tips for smartness, your hairstyle or your dressing sense 😀 No no No here we will learn how to use smart object and with the help of that, how we can use Photoshop easily.
Let us see how you can make a layer smart object
Right click on a layer and click on “Convert to Smart Object”.
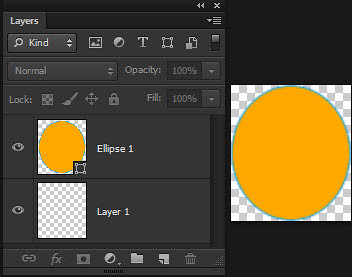
Now your layer thumbnail got an icon by which you can identify the smart object layer.
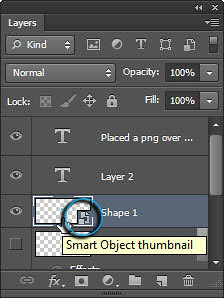
You can see that icon in that blue highlighted circle.
Now it is simple how to make a smart object, But why you have to make a layer as smart object?
There are some benefits to make a layer smart object, we will discuss some important uses here in this tutorial
Resize anytime
When you make an object a smart object you can resize it any time with no loss in quality.
As when you scale and decrease the size of any raster image it will adapt its resolution and when you scale it up you will get a pixilated image.
Let us see this with an example
I have an image and place a png (image format with transparent background)

Now see what happen when I scale it up and down in two conditions :
(a) Raster image – Image gets pixilated when I scale it up second time.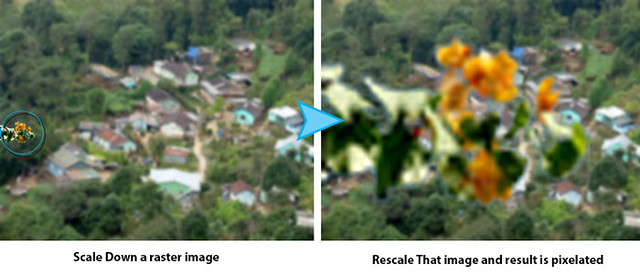
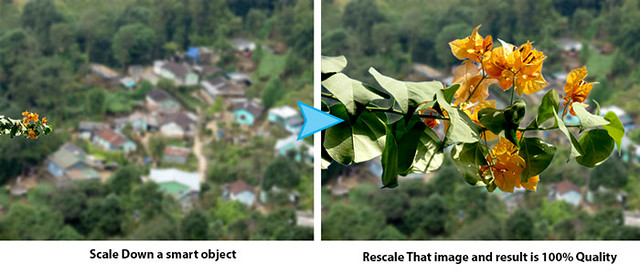
(b) Smart Object – Now when I convert that .png image to smart object and scale it down, and again increase its size, there is no effect quality is 100 %.
Group Smartly
By this you can group number of layers and make them a single smart object and after that edit them in a separate document. It’s like have multiple documents in a single document.
And it is really helpful in complex projects
Let we see an example :
Here I am explaining this with our own logo. You can see a no. of layers used in this logo, and we have to use this logo everywhere in all our docs and sometime we also want edit in it.
So for that I prefer to import it direct from psd file not a png.
But, Because it has no. of layers and when I import these layers into another complex document I got mess up with all these and it is difficult to edit my logo in that case.
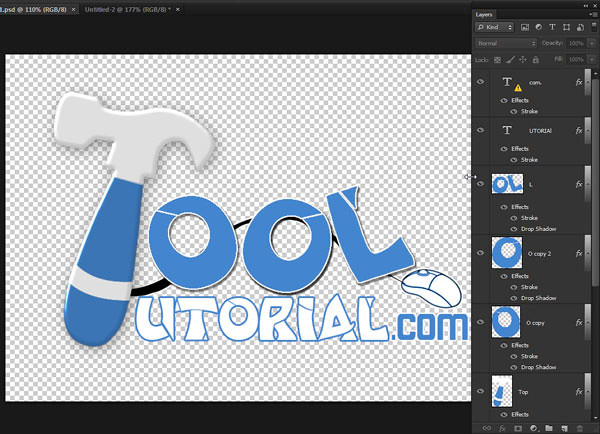
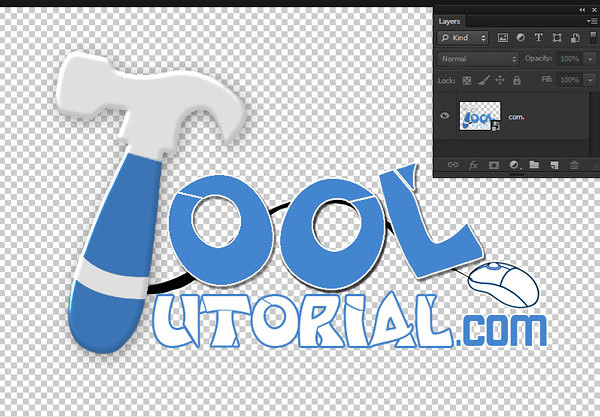
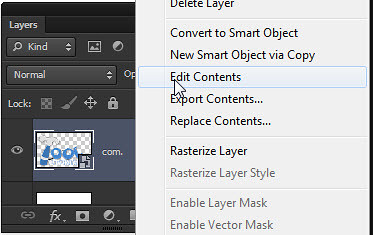
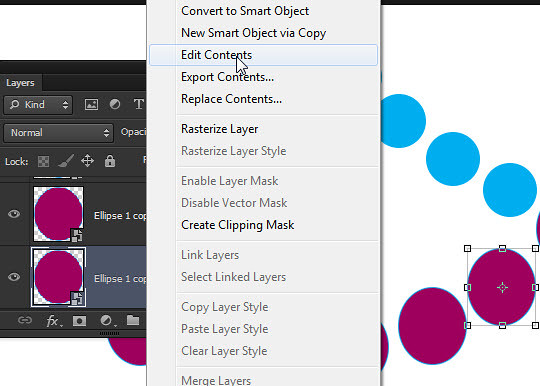
So that’s why I make group of all layers by converting all into an smart object and whenever I want to edit them, I just double click on thumbnail of smart object or right click on layer and click on edit contents and it takes me to new document with just a Ok on a message window.
Then I save that document and it takes me back to my current document with all changes made in that smart object.
Edit Settings anytime :
When you convert a layer to smart object and after that apply any filter (it will be explained in Filter Tutorial) to it, it automatically make it smart filter. By this you can do changes in filter settings anytime you want.
Let me explain this by an example :
Here I make a layer as a smart object
I am applying tile filter from filter menu

Now when I set my initial settings of filter, I didn’t change anything, just pressed ok.
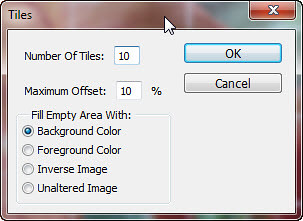
You can see a smart filter thumbnail created just below the layer.

So here I want some more tiling, now as our filter is smart filter, Therefore I just have to double click on my filter, here it is Tiles and its setting window will open in which I can change settings of this filter.
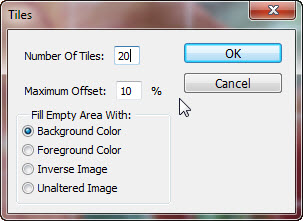
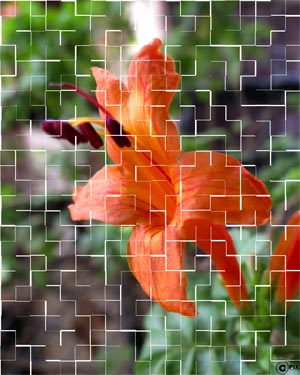
Now I increase it to 20 tiles and here is our result, and like this you got lot of controls on your filters and effects.
Smart Duplicate
It can be used in complex projects, when you are taking multiple copies of one layer and you want all linked to each other.
How to make copy of smart object?
Right click on smart object layer and click on “New Smart object via Copy”

Or just press and hold Alt button and select object drag and drop it where you want, it will make its copy.
Let see an example to understand how it works?
I make a design with circular shape, blue circles are copy of a single circle.
But I convert pink circle to smart object and then take copy of that circle.
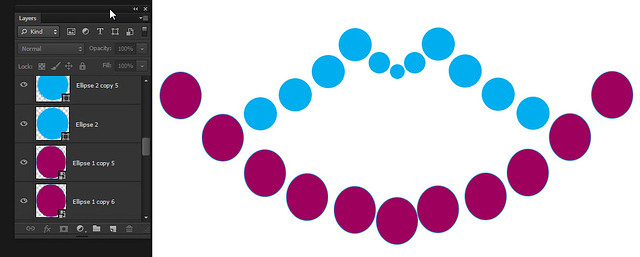
Now if I want to change the color of all blue circles I want to select each and change its color.

But if I want to change color of pink I just want to edit smart object and color of its copies get changed automatically.
It will open a isolate window for that object now I change the color of that single layer.
After change color close and save it.
So here you can see color of all smart object copies get changed.

Hopefully this tutorial helps you. Ask your Questions related to topic below in comments bar.
Share Tool Tutorial with your friends through social and other medium, would be appreciated!