If you are working in Photoshop then you have to remember move tool as soon as possible.
Now why I am saying this is because to move and select anything in your document it will work as your virtual hand.
Its shortcut key is “V” (for all shortcuts of Photoshop we have a separate tutorial also Photoshop Shortcuts. It will be good if you make up your hands on short keys it will help you further in big projects.) In option bar two options with check boxes will be there for this tool.![]()
- Auto-select – If this option is checked then you can easily select your object or layer but if it is not selected then you have to firstly select layer from layer panel and then your object will be selected.
- Show Transformation control- It will show the transformation bounding around the object when you select it by transformation control you can scale and rotate your object, there are also more options available for transformation, so let learn more about transformation by move tool.

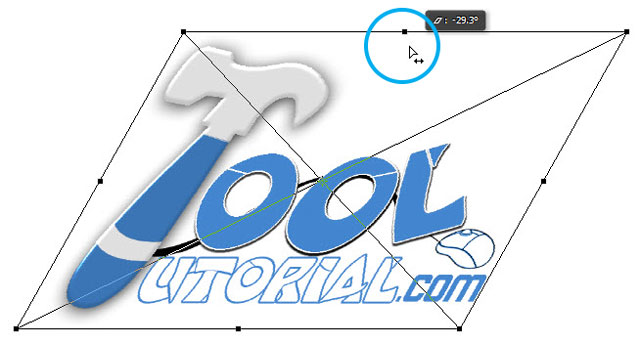
By these control points you can scale or rotate your image or object. When you place cursor on it you will find a cursor for scale. With pressing Shift key you can scale it in same proportion. And if you want to scale it from center press Shift + Alt key then start scaling. And when you place cursor near control point you will find a cursor for Rotate With pressing Shift key you can rotate with snapping.
 There are some more transformation methods like skew, perspective, distort etc.
You can see these option in Edit menu > Transform.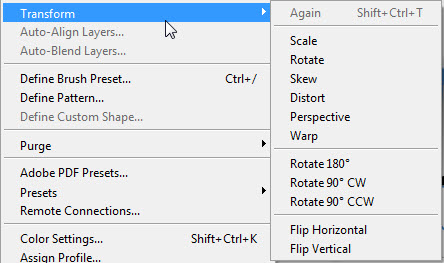
Or just click on any handle of transform bounding box, and right click, list of these transform options will be open.
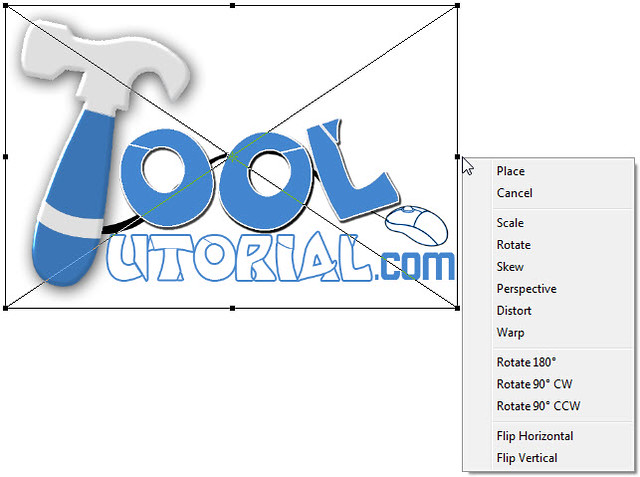
Let start with these options :
Skew
Click and drag side handles, by this image will tilt, while sides will be parallel to each other. Press Alt while dragging, by this image will skew with center, and at the same time opposite side will move in opposite direction.
If you drag the corner handle it will move both sides attached to it.
To move opposite corner at the same time, press alt while dragging.
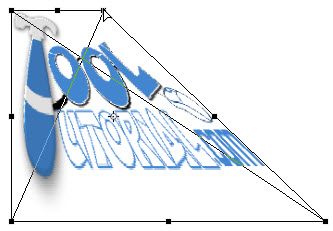
Perspective
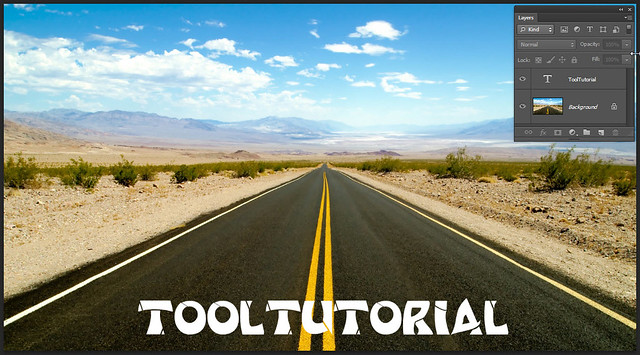
By this you can change the perspective of image or shape according to the composition. Here I have an image and a Text layer above it. I want that text should be according to the perspective of road image.
To use perspective Text layer should be rasterize or convert it into smart object. ( learn more about layers in Layer Chapter.)
So after converting it to smart object i select Text layer> right click on it > Choose Perspective.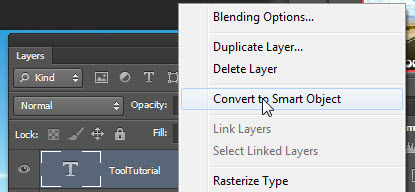
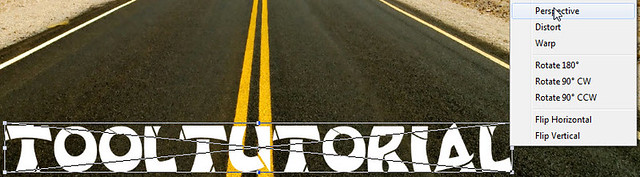
Now I will drag one of the upper Corner Handle, drag it in direction , that its side baseline gets parallel to the road perspective.
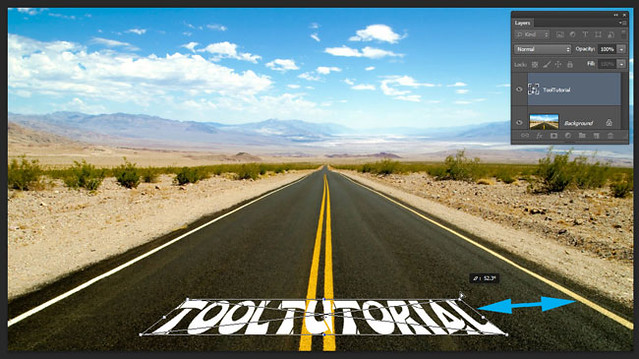
Like this you can use Perspective in many ways, here I also blend text layer with image. (to learn about blending about go to Layer Blending tutorial)

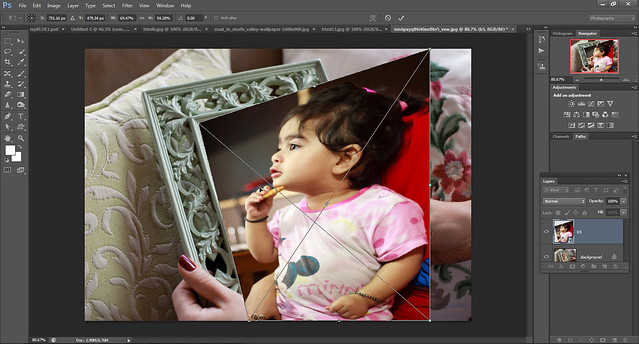
Distort
By this you can move corner handles, But there is much freedom in it, you can move corner easily. Here is an example, I want to insert this baby girl image into this frame.
Just right click on transformation handle and choose distort tool. Now click and move corner handle place it on frame corner, do that for each corner.
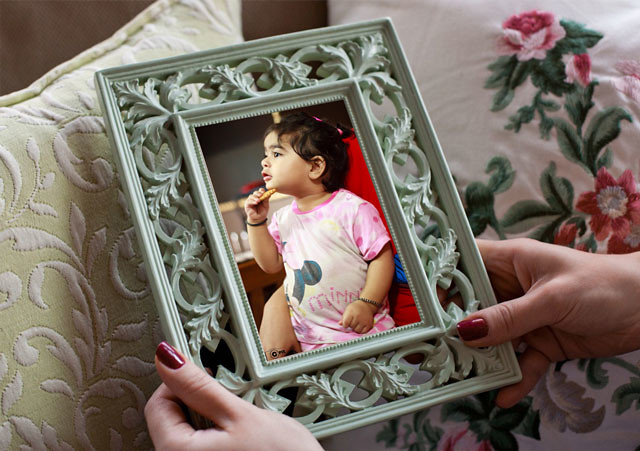
Like this you can use distort tool.
Hopefully this tutorial helps you. Ask your Questions related to topic below in comments bar.
Share Tool Tutorial with your friends through social and other medium, would be appreciated! 🙂