In simple words adjustment layer gives you freedom for color correction in an advance way. Somehow you can say adjustment layer is Addition of color correction and masking, we will discuss these topics in separate tutorials, but in this topic we will just see how adjustment layer work.
Let us see working of adjustment layers :
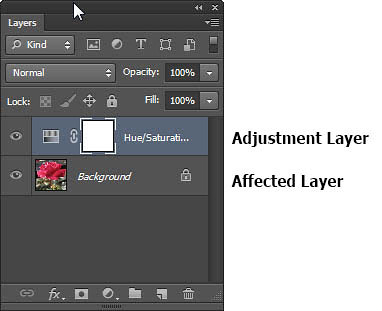
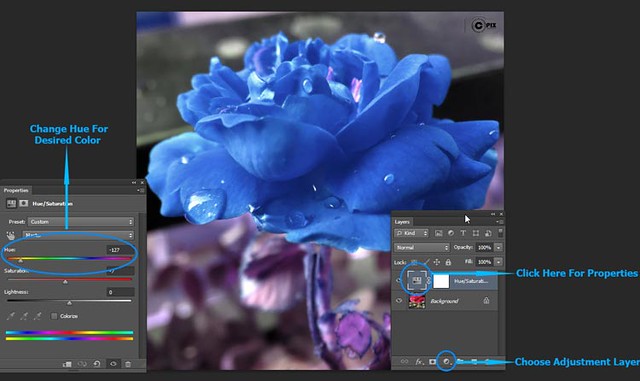
You can activate adjustment layer from layer panel. Click on adjustment layer icon and you can see a list of adjustment or color correction options. Choose any one according to your desired output.
 In masking or adjustment layer BLACK = Invisible and WHITE = Visible.
  All layers which are below adjustment layer will be affected by changes in specific adjustment layer.
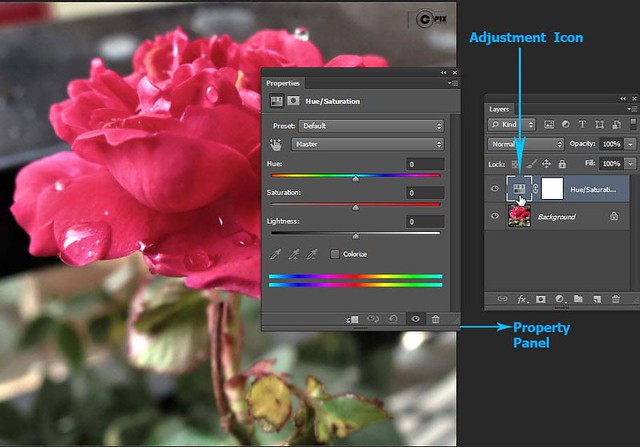
 You can adjust or edit your color correction at any time. Every adjustment layer has an icon of specific option, click on it and you can see a property panel of that adjustment layer in which you can do desired changes.
 Now here we have an overview of adjustment layer.
So now I am explaining adjustment layers with real world examples :
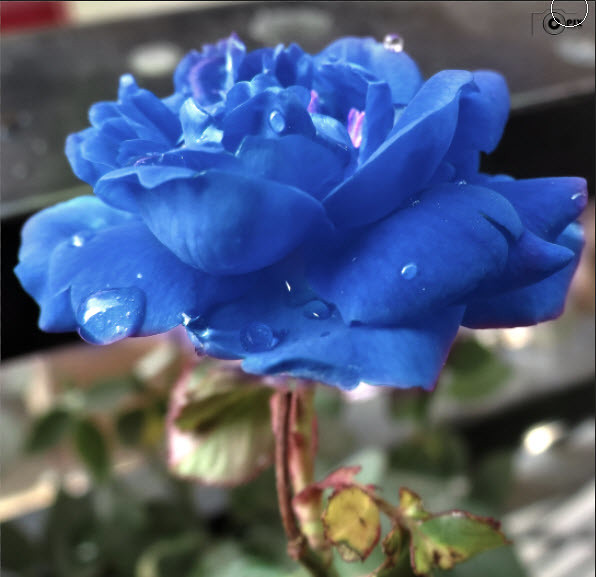
 Here I have a rose image and wanna change its color to blue.
Firstly make a hue saturation adjustment layer above the image layer and change the hue saturation according to your desired color output.
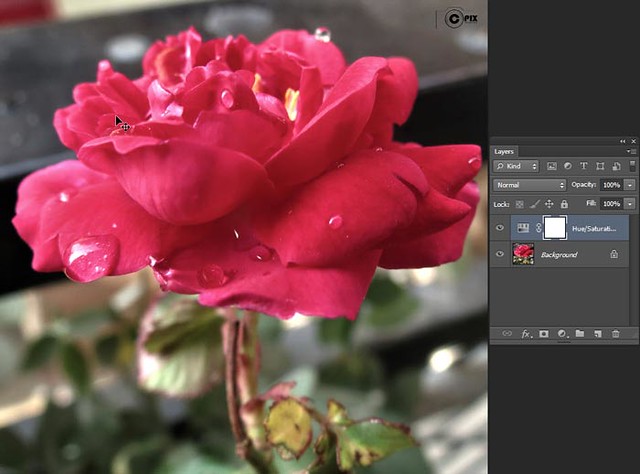
 Here we have blue rose. Wait wait with rose our background has also been changed, green leaves turned into violet and pink.
Now let us see how we can have selective effect of adjustment layer on our image.
Remind in start of tutorial I said one important thing about adjustment layer and masking.
“In masking or adjustment layer BLACK = Invisible and WHITE = Visible”
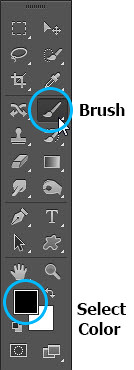
So now select brush from tool bar and select black color.
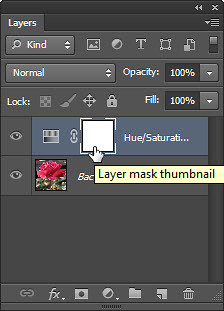
 Now click on layer mask thumbnail on adjustment. You can see it is all over white on mask thumbnail, it means effect of adjustment layer is visible on whole working area.
 So start applying black color with brush where you don’t want effect of that adjustment layer, to adjust size of brush press “[” or “]” to increase or decrease brush size.
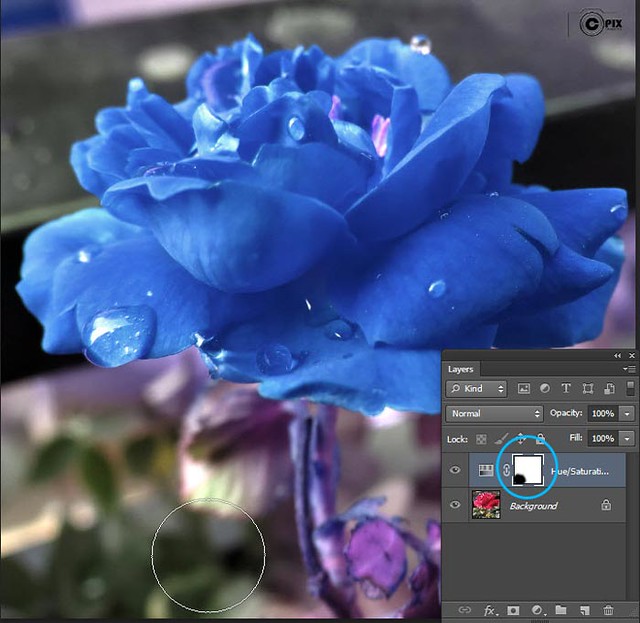
Here you can see where I am applying black brush, affect of adjustment layer get invisible and with that you can see black portion in mask thumbnail at adjustment layer and if somewhere you again want that effect just paint it again with white, more over you can use gray-scale colors to have some interesting partial effects.
Here is final output, after I apply black Color where I don’t want effect of adjustment layer.
One quick example
Here I want whole image to be black and white and dress to be left colored, So whole procedure will be same as above, just Hue and saturation will be replaced by Black and White adjustment layer.
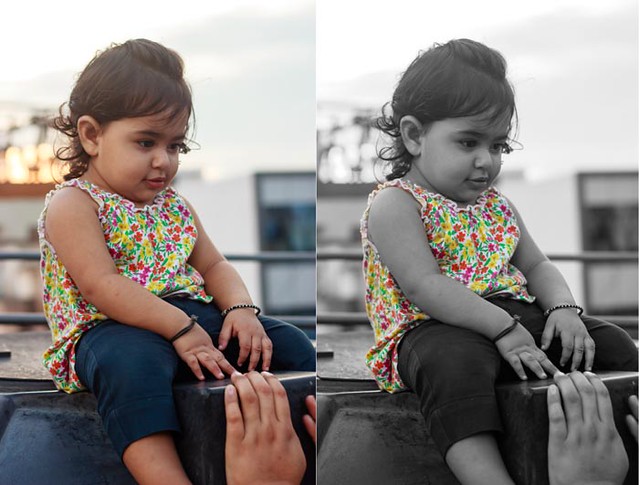 This is our output with black and white adjustment layer.
Here we finish this tutorial BASICS. Use this selective editing measure to unleash your creativity along your photography.