These are three more editing tools in which we don’t apply paint on image, but they effects the colors which are already presents in image. You will find them in a single cell in tool bar, you can see the last used icon and to see others just click and hold that icon.
Blur
By name you can understand about its working. It will blur the area where you move this tool. It can be used to repair the wrinkles or soften the desired areas in image. You can also use it when you have little noisy image, it will blend the noise but it can be used only to a limit. It can also be used to give photographic effect like shallow depth of field or in common language blur background. Let us see an example of it : 
Here in above image you can see I repair the wrinkles by brush tool. I just select blur tool and move my brush on wrinkles and get smooth skin. Here is a tip, that don’t use blur tool on areas like nose lips and eyes to prevent the depth of pic.
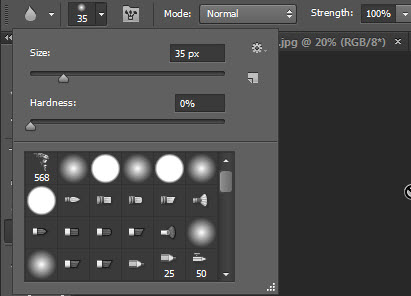
In option bar you will find brush preset picker which is explained in Brush tutorial. You can pic brush from presets adjust their size and hardness from there.
![]()
Another option is strength, it is used to define the intensity or power of tool. Sometime you want less or more amount of blur in different areas in a single image at that time you cant adjust it from strength.
Sharpen
Another tool from this group is sharpen tool. Sometimes we have little blurry image or area in that image which we want to be sharpen, at that time we need this tool to give some sharpness tool. But it has its limit overuse will damage your pic, although you always have undo to go back. 
In above image you can see original one is little blurry, a pic can be checked with its eye and if you notice her eyes, they are not properly in focus.
So in these minor issues you can use sharpen tool as you can see right side image it has been sharpen with it, and now you can notice depth in her eyes.
Here is a tip for this tool that it will be not much successful with mobile or low light captures as it will come up with red blue green pixels all over the area where you apply it.
Smudge
This is last tool of this group and this tutorial. But I must say it is very useful and interesting tool. It can be listed in retouching and editing tools but in real world it is more used in digital painting. It can be used for mixing up two colors or shades, or you can use it repair some image part with mixing it up with nearby pixels. I usually use it to make hairs in digital painting. It also work like a simple brush.
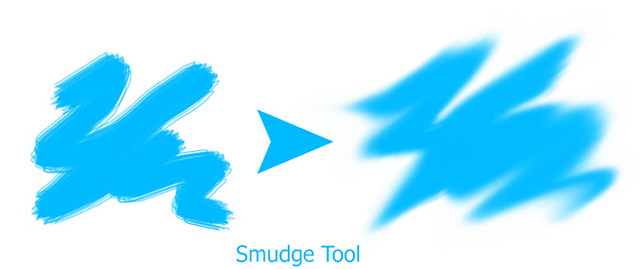
Let us see example to see how it works:
It is an example to show its working, it flow the pixels in a direction where you drag it.Use it, be familiar with this particular tool it will surely help you in many situations. We end up with this tutorial, hopefully you got help with this.
Ask your Questions related to topic below in comments bar. Share Tool Tutorial with your friends through social and other medium would be appreciated!


