Whenever we want to add any sort of text to a document, we use Photoshop’s Type Tool which is found in the Tools panel along the left side of the screen. It’s the icon that looks like a capital letter T. You can also select the Type Tool by pressing the letter T on your keyboard:![]()
Selecting the Type Tool from the Tools panel. With the Type Tool selected, your mouse cursor will change into what’s commonly referred to as an “I-beam”. I’ve enlarged it a bit here to make it easier to see:![]()
As you click to write new text a new TEXT layer will be made automatically. For more Info about layer section you can go through LAYERS.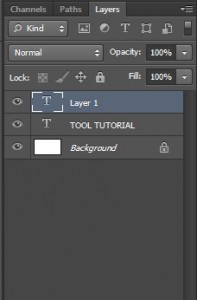
Character Type and Paragraph type
- Character type is commonly used in which we just put pointer anywhere in doc. and just start writing. It is best suited when we’re just adding small amounts of text on a single line.
- Paragraph type is used where you have a bulk of text…with character its difficult to arrange much text. It is also known as AREA type, as you previously specify the area in which you want your text to be arranged. Now its easy to use paragraph text,there is no special tool for it. Just simply select type tool and drag it to make a area in which you want your text.

Now just start writin, everything else is same as character type.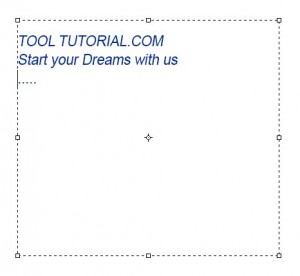
Choosing A Font
![]()
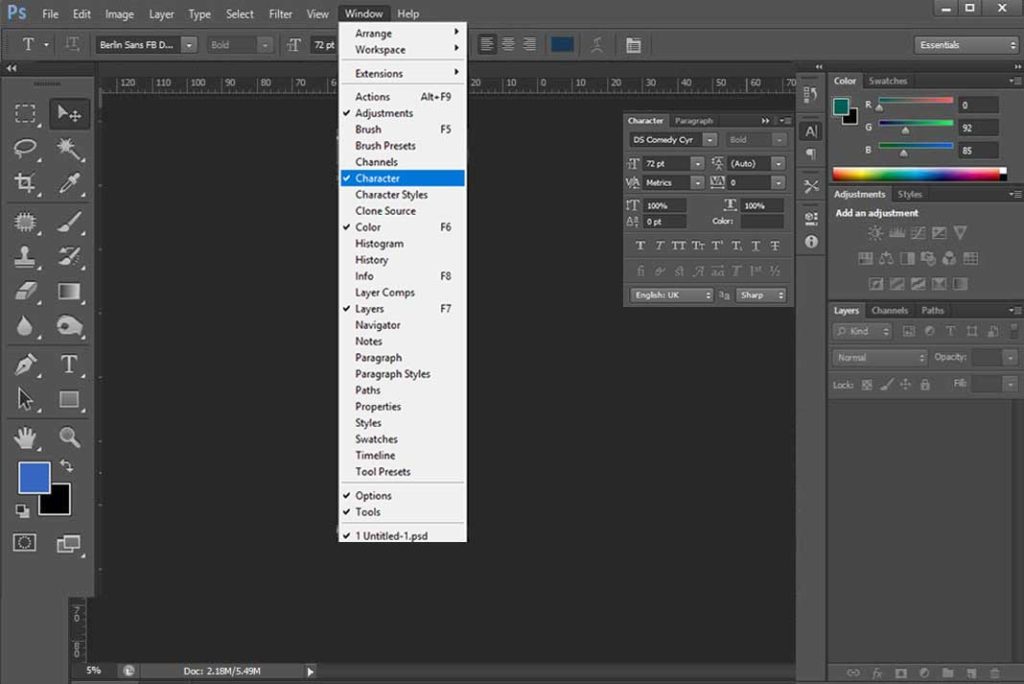
Now when we choose type tool , we will see Option Bar on the top of the screen updates with options related to type tool including options for choosing a font, a font style ,font size, font color. Now Click on Font, there will be a drop down list from where you can choose your desired font.
Font Style
Once you’ve chosen a font, choose the font style by clicking on the triangle to the right of the Style selection box. Select the style you need (Regular, Bold, Italic, etc.) from the list that appears. The style choices you’re given will depend on the font you’ve chosen since some fonts have more styles available than others.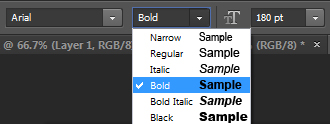
Font Size
You can choose size of your text from these presets or you can give a particular size to your text.
 Font Color
You can chose color by clicking on this color icon and Color Box will be appear , you can choose from the wide range of shades.
![]()

Selecting And Editing Text
![]() Here is a text with two mistake In 1st word TOOL “o” is missing and in 2nd TUTORIAL there is “o” instead of “u”. So now to correct this place insertion marker and just press “o”
Here is a text with two mistake In 1st word TOOL “o” is missing and in 2nd TUTORIAL there is “o” instead of “u”. So now to correct this place insertion marker and just press “o”![]()
And to replace “o” with “u” just place cursor (insertion marker) and press BACKSPACE, now write “u”![]()
SELECT a Word or Sentence :
- Double Click on text to select a WORD
- Triple Click on text to select whole text (sentence)
Or, Double click on layer thumbnail to select whole text. 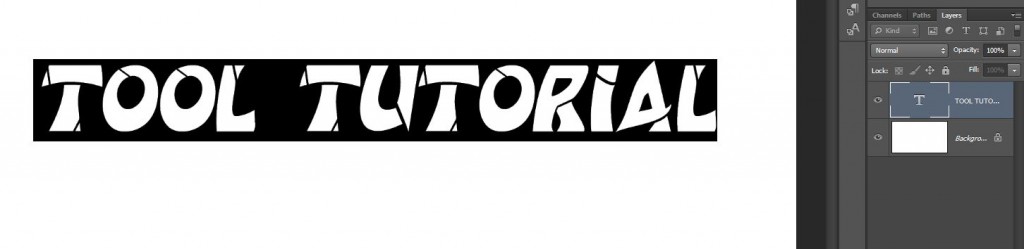
Alignment
There are three buttons in Option bar for alignment of your text Left, center and right.

Cancel or Accept edits
Here are two icons which appear in option bar while you writing your text.
To accept the text written when you have done with your writing click on ACCEPT button or you can also accept the text by pressing the Enter key on the numeric keypad (usually in the bottom right corner of the keypad) Or if you don’t have numeric keypad then press Ctrl Enter to accept
And to reject any edits click on cancel button on option bar.
Change Font, Color and Size partially
So many times we want different color,font and size in a single line, now for that we just select that word or letter which we want to edit or give some different style. Like in this I want .com with different font, size and color.
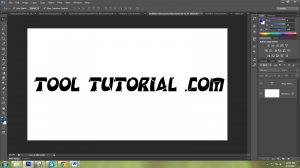
So now select your preferred word, here it is “.com”![]()
So now we will change color, font, size as per our requirement.

Here we have our output :![]()
Hopefully this tutorial helps you. Ask your Questions related to topic below in comments bar. We’re here to hear from you guys!