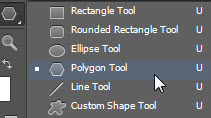
In this tutorial we will discuss about basic shapes which you will find in tool bar as tools. They share a single cell in toolbar, you can see last used tool as icon and then click and hold it to see other tools. Shortcut key is “U”. (for all shortcuts go to Photoshop Shortcuts)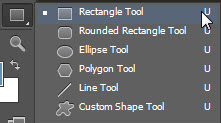
Let us start with working of these tools :
Rectangle tool
When you select this tool, cursor will change into a plus sign. Simply click and drag it on your canvas.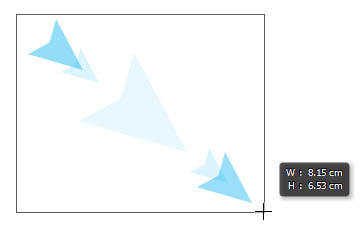
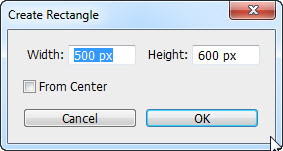
Or, Enter desired size of shape in its option box and click on canvas, a window box gets open, press Ok to create your shape.
![]()
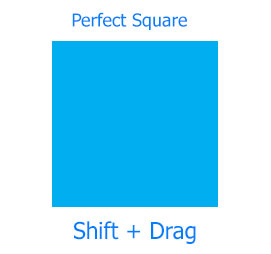
To make perfect square (same proportion of length and width) Press Shift+Drag.
How to draw shape from center of your desired point?
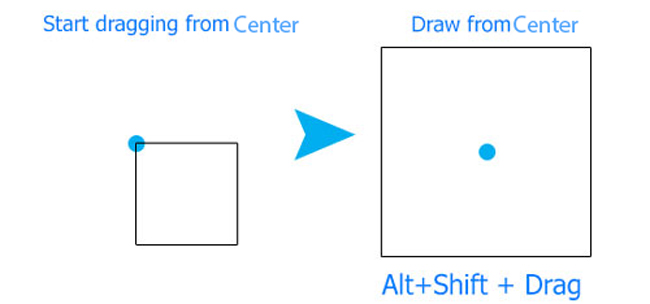
Just start drag from center with alt and if you want perfect square from center alt+shift+drag. In option bar you can see some options to control shapes. After creating a shape select it by Path selection tool to see its options in option bar.

![]()
Fill Color is filled inside your shape. Stroke Color is outline color of shape.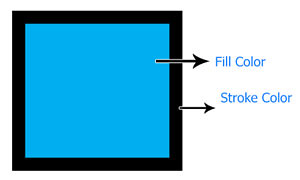
Stroke width
By this option you can adjust width of outline or stroke of your shape. Working of stroke width is explained below in image.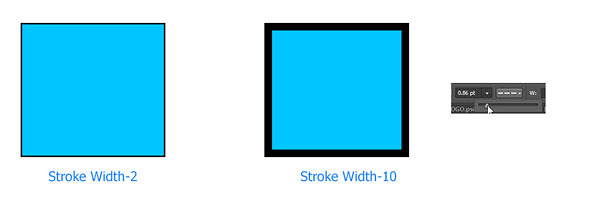
Stroke Type
On option bar you will find stroke type, by default it is simple line and you can choose styles from presets. 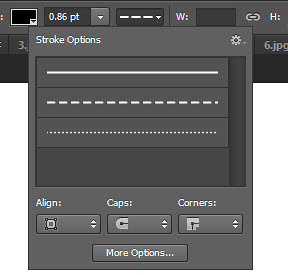
For example we have two rectangles with two different stroke styles

Now here we have some more options in stroke styles.
Align – By this you can choose position of outline. Below in image I explained how three align options works.
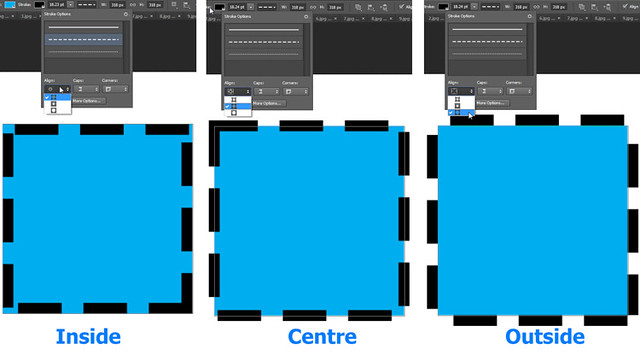
 Caps – By this you can change cap shape of dashed stroke.
 By Corners you can choose type of corners of outline. From More options a new window opens in which you can make your own stroke presets.
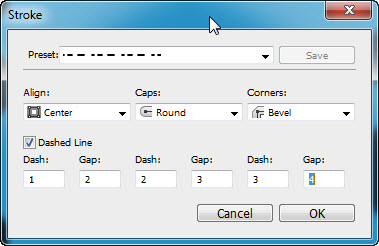
You got three levels of dash, which give you scope to make some nice outlines and then save you presets by just clicking on save button. Before coming to more options let us see other basic shapes and their different options.
Rounder Corner Rectangle
Its working is same like rectangle tool, a single difference is its rounded corners.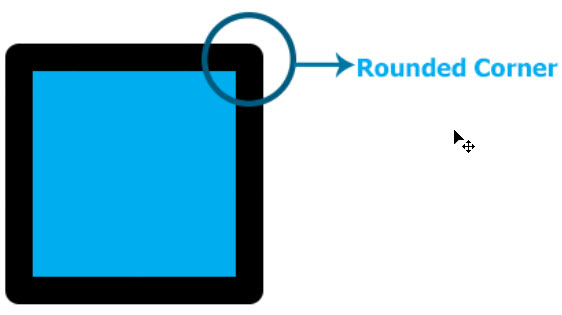
Before creating this firstly define its radius in option bar.

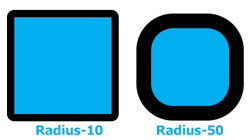
Ellipse Tool
By this you can make circular shapes.
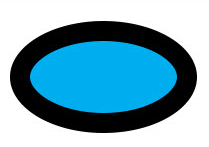
To make perfect circle Press shift and drag as explained above in rectangle tool And to create shape from center press alt and then drag. In option bar you can define its width and height and then click on canvas to create ellipse,to create perfect circle from option bar insert same values in width and height.
![]()
Polygon
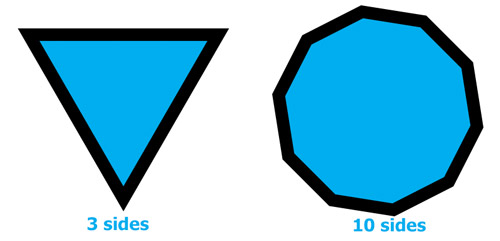
Polygon is shape consist of no. of sides.
![]()
You can set desired no. of sides from option bar.
Line Tool
In childhood we learn a segment from one vertex to another is called as line. So same here just drag it from one point to another to draw a line. You can adjust weight of line from option bar.
![]()

Custom Shapes
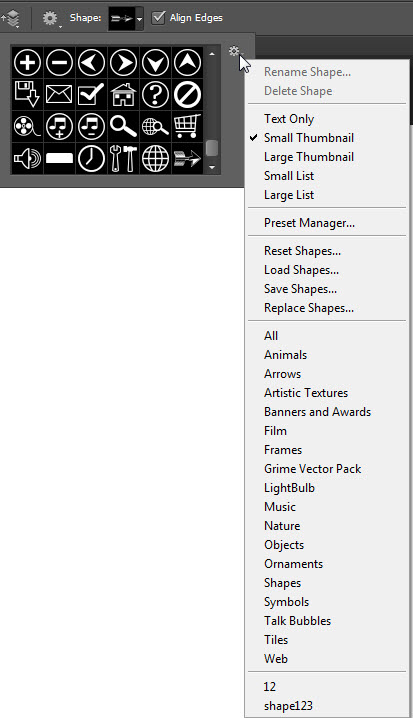
By this you can choose different preset shapes.
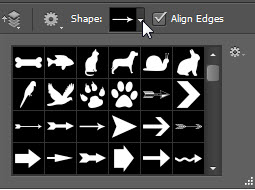
In option bar you have shapes option, when you click on it you can see a drop down box from which you can choose shape. Here you can see a setting button, click there and a list will open, from there you can select category of shape presets.
Now come back to option bar of shape tools.

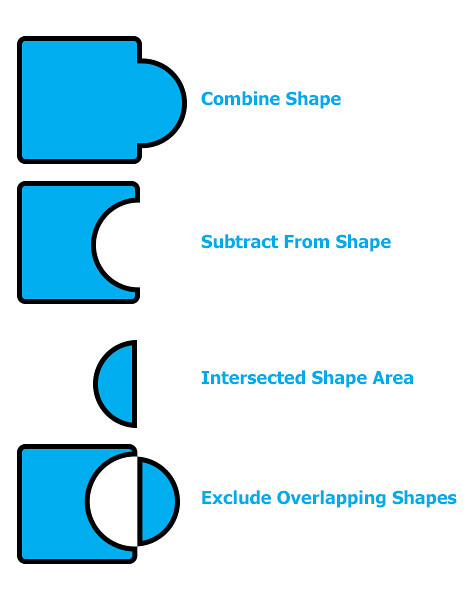
Here we have path operation icon in which you can see some options. If New layer is selected, when you create a shape it always make a new shape layer for itself. I will explain other options by an image.
Till now we are working on Shape mode in which we are getting all options for shapes.
But there are two more modes of shapes.
 Path and pixels are two more modes you can find this in option bar when you select and shape tool.When you select path mode it will make a path with that shape. Path will be explained in Pen tool and Path tutorial. When you work on Pixels mode it will create a raster shape with a new raster layer and you didn’t get any shape options in that.
Here we are completed with this tutorial, in next tutorial we will learn how to do changes in our shapes with Direct Selection Tool.
Hopefully this tutorial helps you. Ask your Questions related to topic below in comments bar.
Share Tool Tutorial with your friends through social and other medium, would be appreciated!

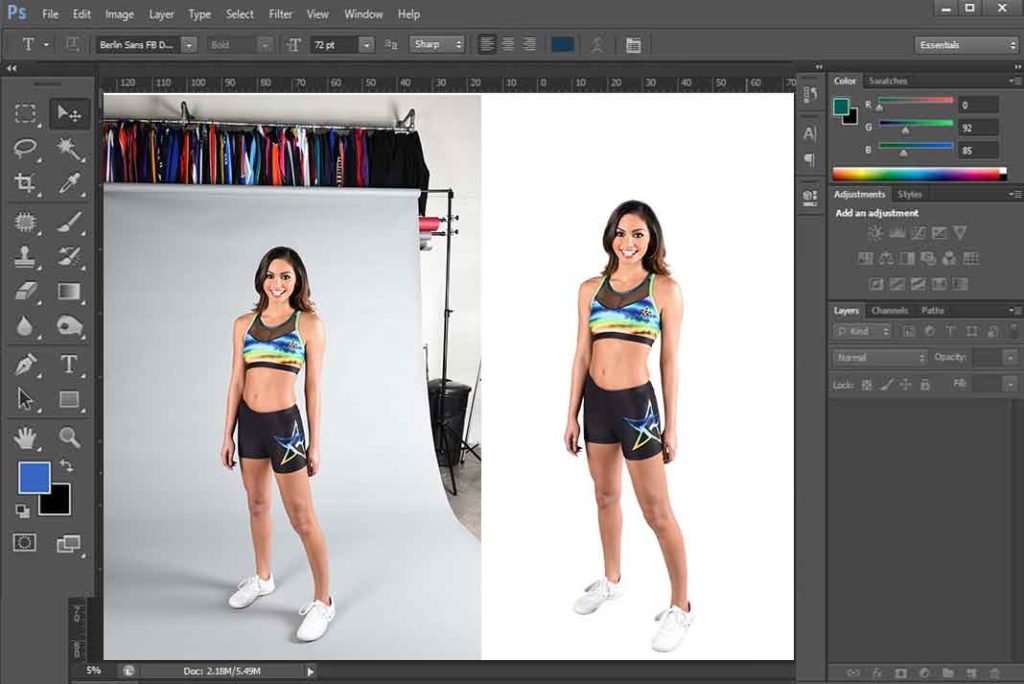

after selecting path selection tool options are not been displayed like fill,stroke etc ???
Make sure you created shape in “Shape” mode not pixel or path mode. As in path or pixel mode these options will not be displayed.