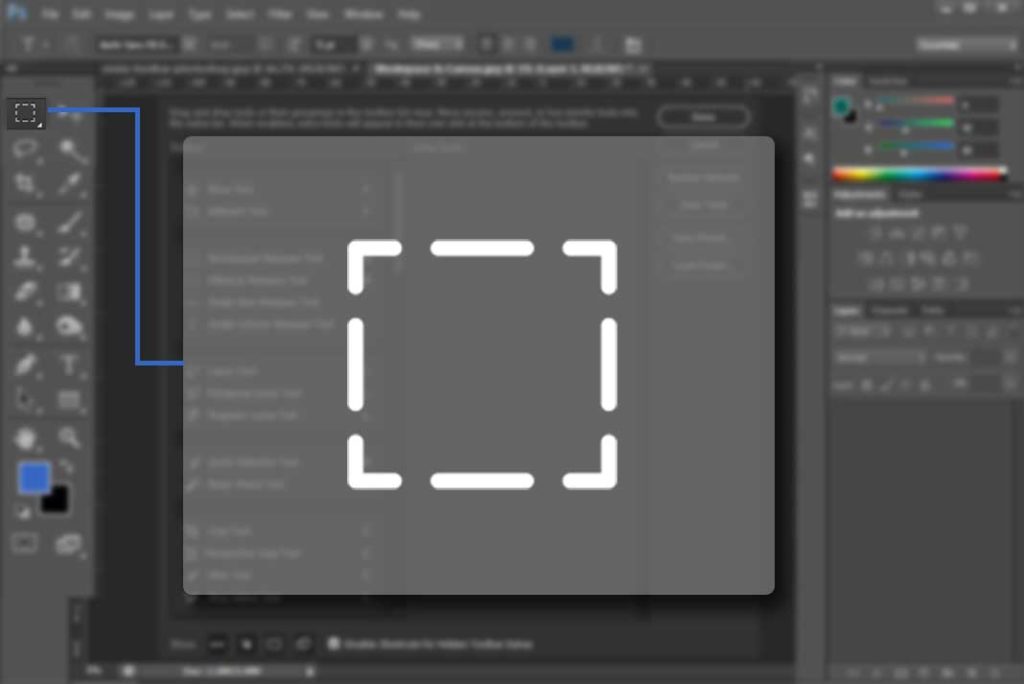
In this tutorial we will learn about perspective crop tool. This tool is added in CS6. It can be used in different ways, to fix distortion or perspective problem in images and you can also extract something from image as a plane. So here is Perspective Crop tool in tool bar.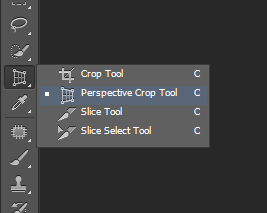
Now we explain its working with some examples. Firstly I have to extract this area as a plane from this image. 
Now select perspective crop tool from tool bar. Click and drag to make a crop box.
Then you will see a grid box (if you can’t see grid then check on Show grid in option bar) with crop handles, now we just have to arrange these handles.![]()

Now just arrange handles corner to corner .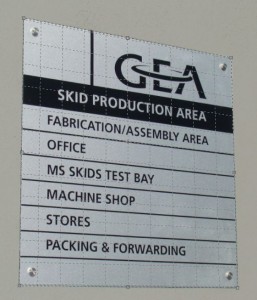
and press ENTER to complete the action. Here is result, a plane picture extracted from a image. 
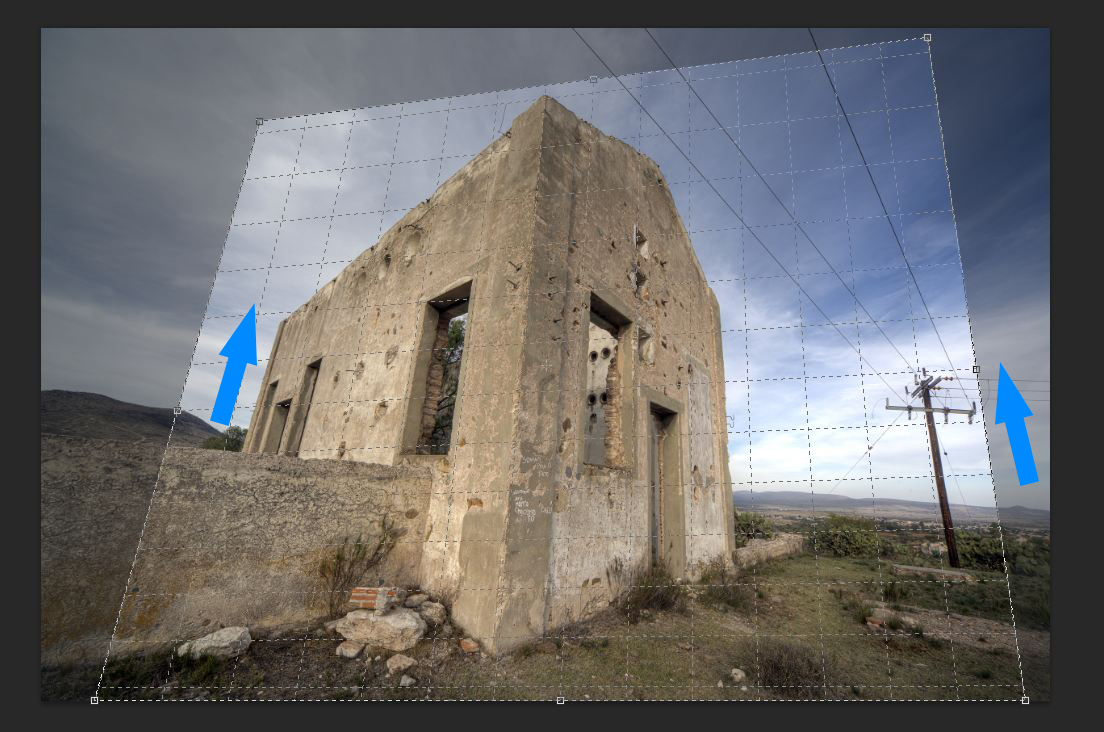
Now here is one more example to explain its use. Here i have a pic which is distorted or we can say we have to correct its perspective. 
To fix the perspective problem, all we need to do is drag the corner crop handles left or right until the vertical (up and down) lines of the grid line up with something in the image that should be vertically straight. For example, with my photo, the sides of the structure should be vertically straight, so to correct the problem, I’ll drag one or more of the corner handles inward until the grid lines and the sides of the building appear to be tilting at the same angle.
so here is final result, In this way we can fix the perspective problem.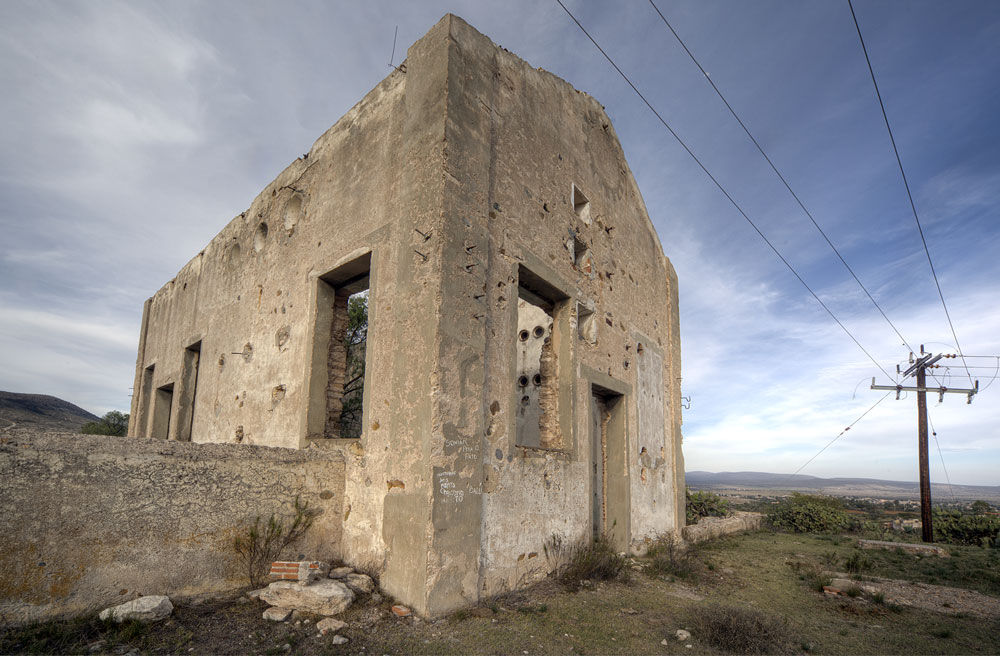
Let us know if you have any questions or tips in the comments. We’ll be happy to help.